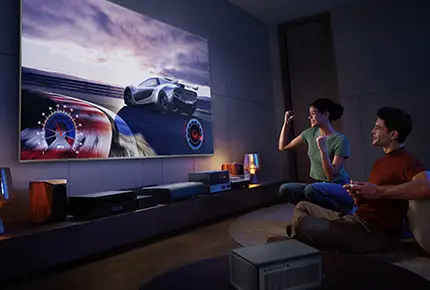
When your projector displays a “No Signal” message via HDMI connection, multiple factors could be responsible. This systematic guide provides a complete troubleshooting process from basic checks to advanced solutions to help you quickly identify and resolve the issue.
Basic Checks: Eliminating Simple Issues
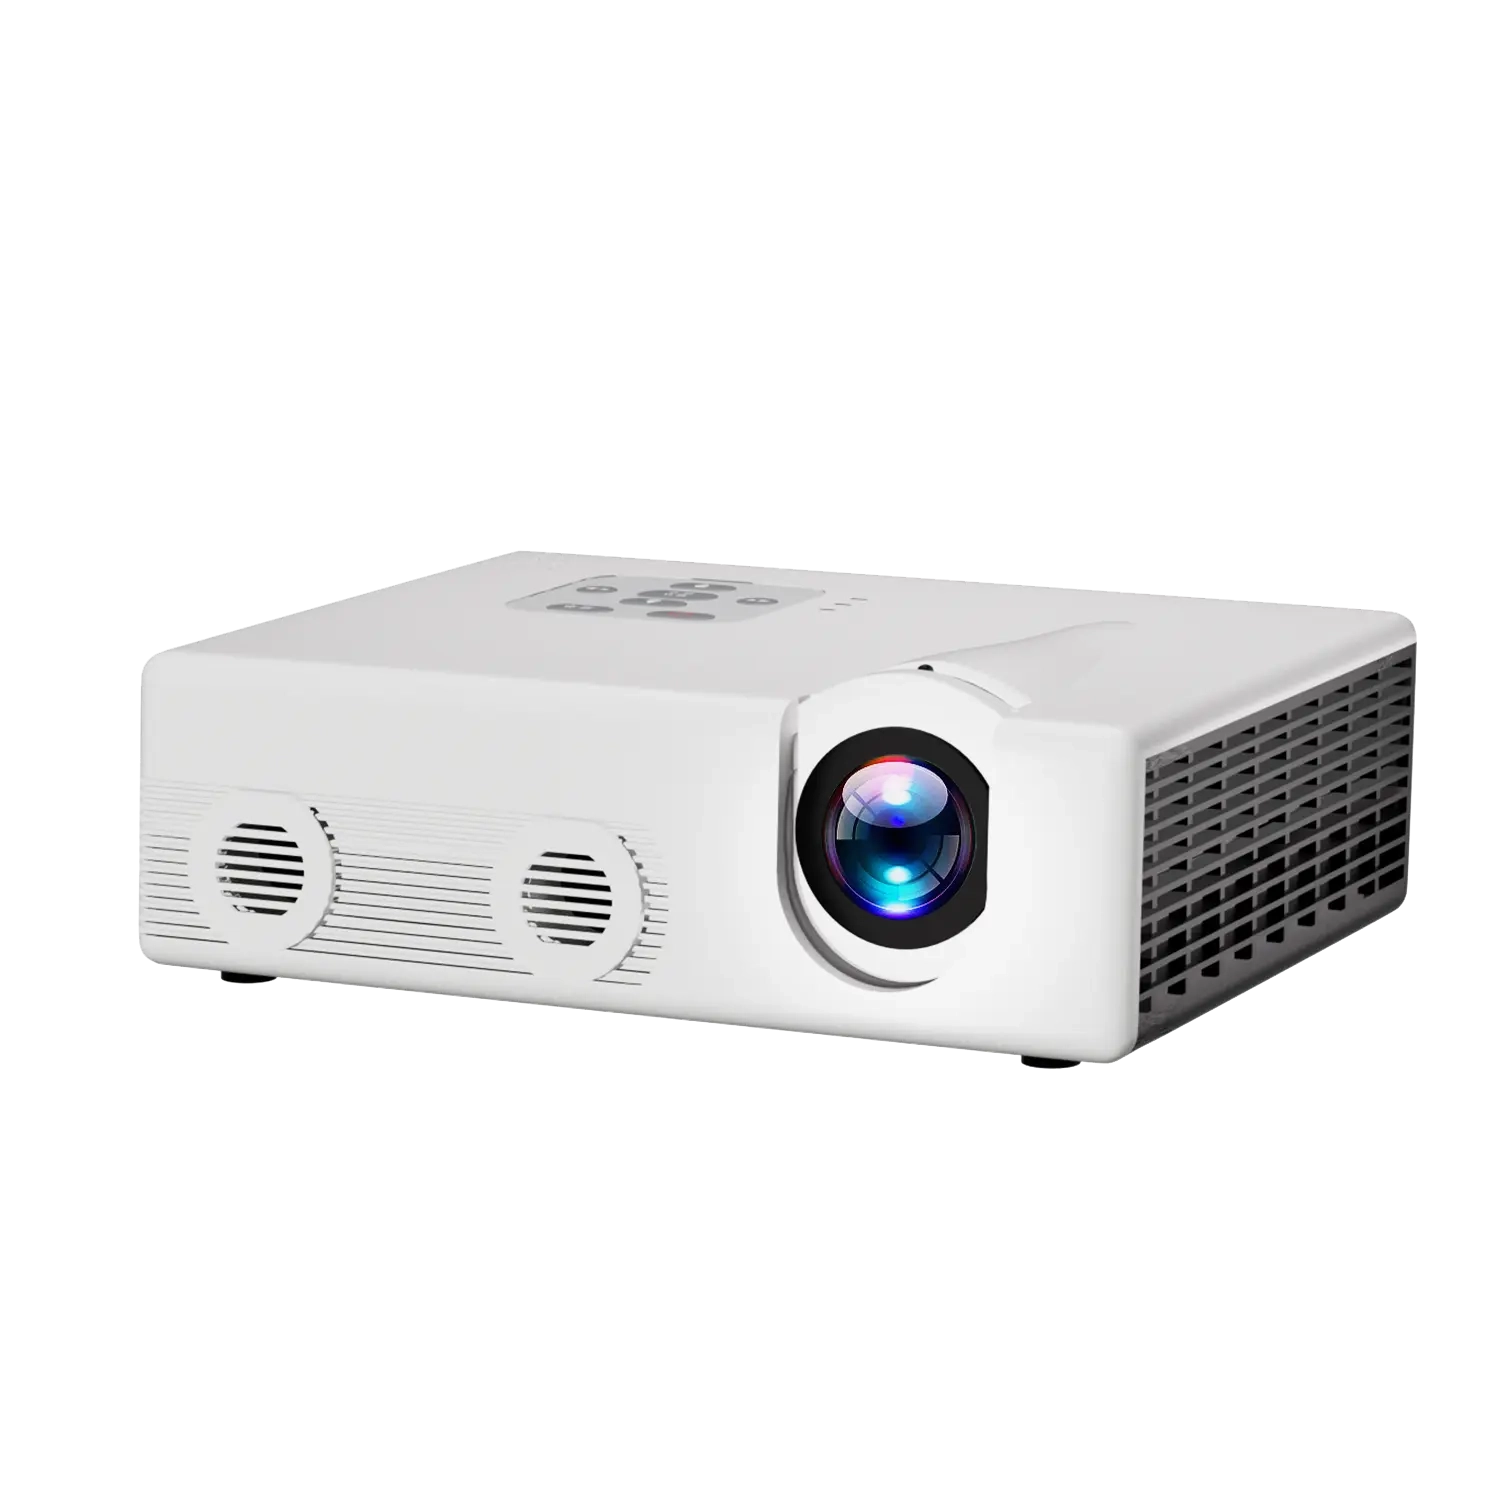
Cable inspection is the first and most crucial step in addressing HDMI signal problems:
Physical connection verification: Ensure the HDMI cable is securely inserted into both the projector and source device (computer, player, etc.). Loose connections are among the most common causes of signal loss
Cable condition check: Examine the HDMI cable for visible damage such as cuts, kinks, deformed connectors, or oxidized/blackened metal contacts. Replace immediately if damage is found
Port inspection: Check HDMI ports on both devices for physical damage, dust accumulation, or looseness. Gently clean ports with a cotton swab dipped in electronic cleaner to remove oxidation and dust
Cable replacement test: If possible, test with another known-working HDMI cable to definitively rule out cable issues
Device Configuration Checks
Projector Settings
Input source selection: Access the projector’s menu via remote or control panel, navigate to “Input Source” or “Signal Source,” and ensure the correct HDMI input is selected (e.g., HDMI1, HDMI2)
Projector reboot: Sometimes a simple restart can resolve temporary glitches. Power off the projector completely, wait 1-2 minutes, then restart to allow device reinitialization
Source Device Settings (Using Computer as Example)
Display mode setting: On Windows PCs, press Win+P and select “Duplicate” or “Second screen only” to ensure output to the projector
Resolution adjustment: Right-click desktop, select “Display Settings,” and set resolution to projector-supported specifications (e.g., 1280×720 or 1920×1080). Incompatible resolutions may cause signal loss
Graphics driver check: Verify driver status through Device Manager. Update or reinstall drivers if necessary
Laptop function keys: Some laptops require function key combinations (e.g., Fn+F4, varies by brand) to toggle display output
Advanced Troubleshooting
If basic checks don’t resolve the issue, proceed with advanced troubleshooting:
Device Compatibility Issues
HDMI version compatibility: Older projectors may not support newer HDMI standards (e.g., HDMI 2.0). Try using an adapter or switching to compatible devices
HDCP copyright protection: When streaming protected content (e.g., Netflix), HDCP incompatibility may interrupt signals. Test with local non-encrypted content or verify all intermediate devices support HDCP
Power sequence: Try powering on the projector first, then the source device to ensure proper EDID handshake
Power and Environmental Factors
Power stability: Disconnect all devices from power for 3 minutes. Avoid using multi-outlet power strips and remove other high-power appliances that may cause interference
Environmental check: Strong electromagnetic interference (e.g., near microwaves or radio equipment), extreme temperatures/humidity, or dust accumulation may affect signals
Special Scenario Solutions
For specific usage scenarios, consider these approaches:
4K HDR devices: Ensure HDMI cable supports 18Gbps bandwidth. Test by disabling HDR or setting color space to YCbCr 4:2:0
Gaming consoles: Disable VRR variable refresh rate on PS5/Xbox, set output color depth to 8bit, or disable high frame rate modes (e.g., 120Hz) for testing
Multi-device switching: Test with single source connections only, remove all HDMI splitters, and document specific device combination patterns that trigger issues
Hardware Failure Diagnosis and Professional Repair
If all troubleshooting fails, potential hardware failures may exist:
Port damage: Frequent plugging/unplugging may loosen or damage HDMI ports. Check for burn marks around ports or unusual sounds when gently wiggling connections
Internal projector faults: Signal processing modules or mainboards may malfunction. Thermal imaging can detect abnormal chip heating
Professional repair recommendation: For suspected hardware issues, contact manufacturer support or professional technicians. Self-repair may worsen damage and void warranties
Troubleshooting Flowchart
Follow this systematic troubleshooting sequence:
- Test with different HDMI cable → 2. Try alternate HDMI ports → 3. Connect different source devices → 4. Reduce output resolution → 5. Check environmental factors → 6. Document symptoms for professional support
Preventive Measures
To avoid future HDMI signal issues, implement these preventive actions:
Cable maintenance: Regularly inspect HDMI cables, avoid sharp bends and pulls, and use high-quality, high-bandwidth cables
Port care: Minimize unnecessary plugging/unplugging, clean ports periodically, and ensure secure connections during use
Device updates: Keep projector and source device firmware/drivers updated for optimal compatibility
Usage habits: Follow proper power sequence (projector first, then source device) and avoid hot-plugging HDMI cables
This comprehensive troubleshooting approach resolves most HDMI signal issues. For persistent problems, document detailed symptoms and consult technical support for further diagnosis and repair.
Table of contents
Be the First to Know