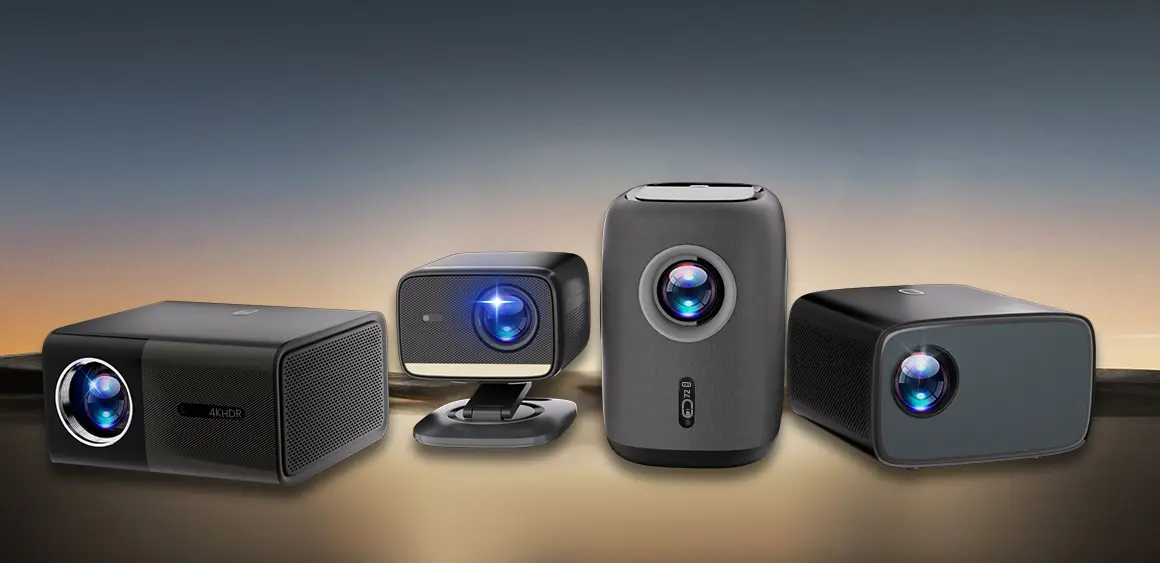
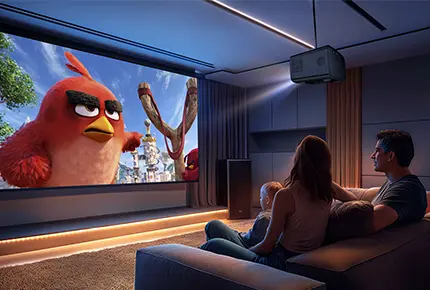
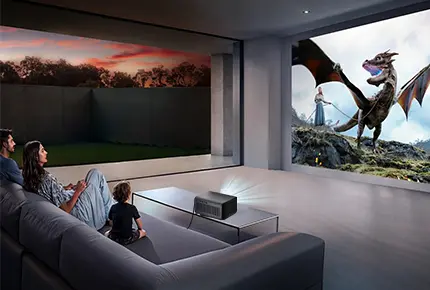
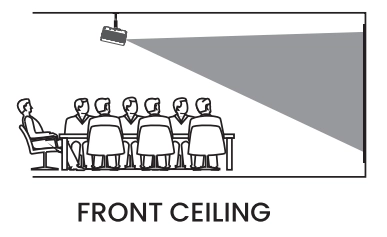
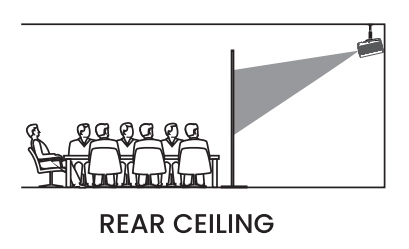
Mounting a projector on the ceiling is a great way to make your home theater or display space look professional and save valuable floor space. Generally there are 2 classic ceiling mounting ways for your reference: front ceiling & rear ceiling.
If you want to hang the projector to the ceiling, a projector mount will be needed. Follow these steps to mount your projector securely.
| Tools you’ll need |
1. Mount 2. Kit Ladder or step ladder 3. Drill 4. Wrench or Allen wrench (depending on the mount) 5. Screwdriver 6. Tape measure 7. Pencil (for marking) |
Note: Usually the tools above are not included in the projector package box, and you probably need to purchase a ceiling mounting bracket separately.
Step 1: Determine the position of your projector to the screen
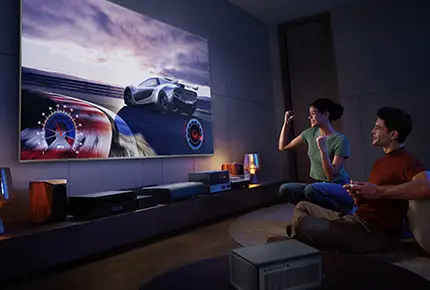
Position your projector and screen so that the throw distance is sufficient for your needs. The lens should be between the upper third and upper half of the screen for optimal picture clarity. Mark the position with a pencil.
Note: Ensure there are no obstructions blocking the projector’s beam, and that there is an available power socket nearby.
Step 2: Attach the mount to the projector
Flip the projector upside down and attach the mounting bracket according to the instructions included with the mount.
Step 3: Attach the mount and projector to the ceiling
Ensure the mounting bracket can attach along a ceiling joist, then make marks for screw holes and drill preliminary holes. Use suitable screws to securely fasten the bracket to the ceiling. Check that it is securely fastened to the ceiling by trying to wiggle it around.
Step 4: Aligning the projector
Adjust the zoom, focus, pitch, and yaw of the projector as necessary to ensure a properly aligned image with the screen.
Step 5: Connect Power
Please plug in the power cord to both the projector and a nearby power outlet. Once the connection is confirmed, turn on the projector to test the connection.
Step 6: Final adjustments
Make any final adjustments to the image and lock down the mount to prevent movement.
By following these steps, you can create a stunning and functional projection system.