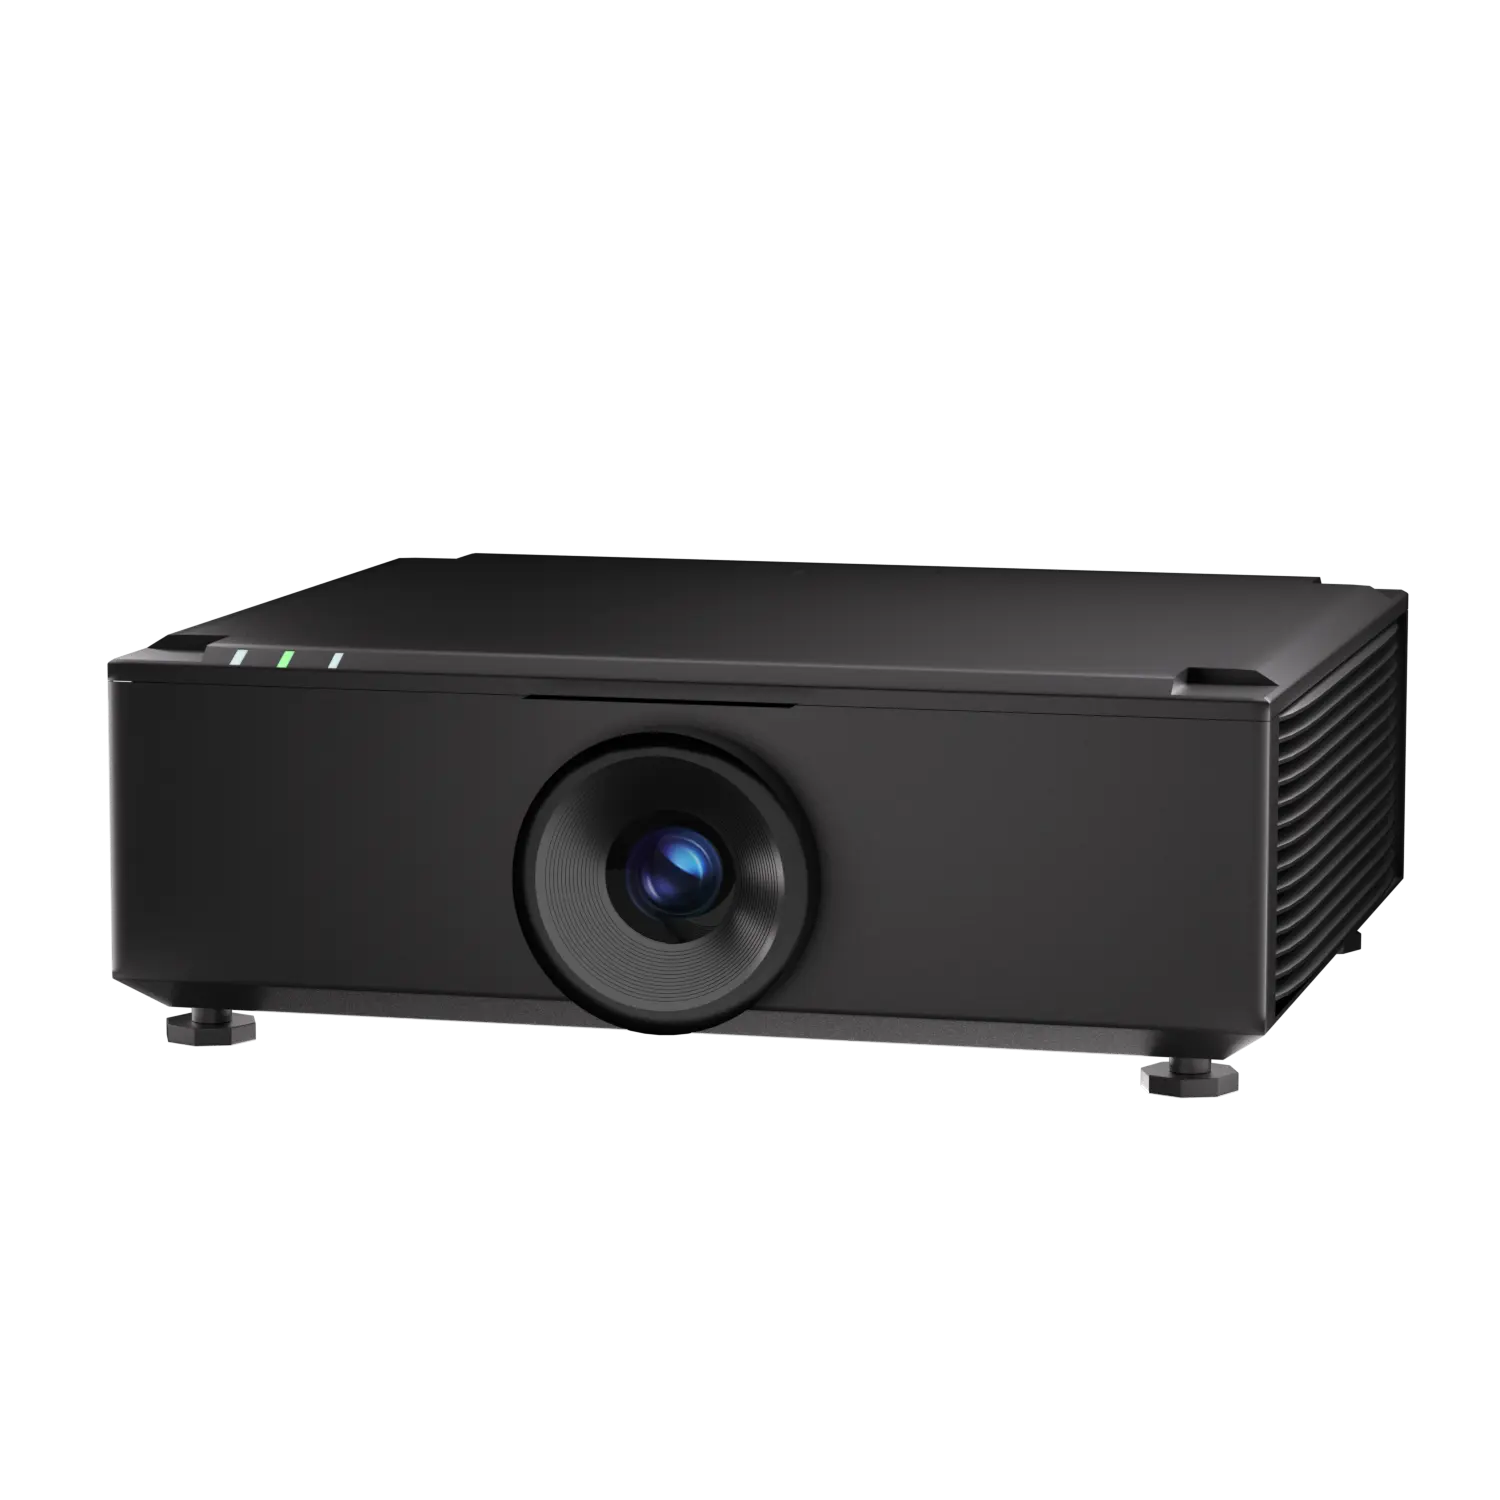
A dark spot on a projector image can result from several causes, including dust, hardware issues, poor heat dissipation, or incorrect settings. Below are the common reasons and corresponding solutions.
Common Causes
Dust or foreign substances
Lens or filter contamination: Dust, fingerprints, or grease on the lens or filter can block light and create dark spots.
Internal optical path contamination: Dust inside the projector may settle on optical components (e.g., display chip, polarizing film), leading to uneven light transmission.
Bulb aging or failure
When the bulb reaches the end of its lifespan or the electrode is damaged, dark spots or reduced brightness may appear.
Heat dissipation issues or hardware damage
Panel or polarizing film aging: Prolonged high-temperature operation can cause yellowing or damage, resulting in dark spots.
Poor circuit contact: Loose ribbon cables or dust buildup can interrupt signal transmission.
External factors or incorrect settings
Stains on the screen or objects (e.g., curtains, décor) blocking the projection path.
Abnormal image settings such as contrast or brightness misconfiguration.
Solutions
Cleaning and maintenance
Lens cleaning: Use a blower to remove large dust particles, then gently wipe with a lint-free cloth or lens paper in one direction. For stubborn stains, use a cotton swab with lens cleaner.
Filter cleaning: Clean or replace the filter monthly to prevent dust from entering the projector.
Internal cleaning: Avoid disassembly yourself; contact the manufacturer or professional service for internal cleaning of the optical path and cooling system.
Check hardware status
Replace the bulb: For lamp-based projectors, replace the bulb if usage exceeds ~3,000 hours or brightness has dropped significantly.
Check display chip: If the dark spot remains fixed after cleaning, the display chip may need replacement.
Optimize environment and settings
Improve cooling: Avoid continuous operation over 4–6 hours; ensure proper ventilation.
Check cables: Verify that signal cables are secure and undamaged; try replacing them if needed.
Reset image settings: Restore default settings or manually adjust brightness/contrast.
Professional service
If none of the above resolves the issue, the cause may be a deeper optical or circuit failure. Contact official after-sales service for repair.
Preventive Measures
Clean the lens and filter regularly to prevent dust buildup.
Keep the environment clean, well-ventilated, and free from excessive heat or humidity.
Avoid extended high-load operation; allow cooling intervals.

